DOOR RESTORATION


PAGE 5 of 5
BACK Restoration Main Page
Uncut tenons Sure that piece of wood looks great compared to the old piece I'm using as a pattern, BUT does it fit back into the door where it's suppose to go??

As you can see here I've already installed my aluminum panel to my piece of wood and set my new piece into it's rightful resting place. What you can't see it the 20 trips I made from the door to the table doing final sanding to fit it in just perfect. I personally do my final fit sanding by hand: sure it takes longer, but don't remove to much to fast and then undercut the joints. You want a tight fit, not a loose fit.

Another view of the uncut tenons 
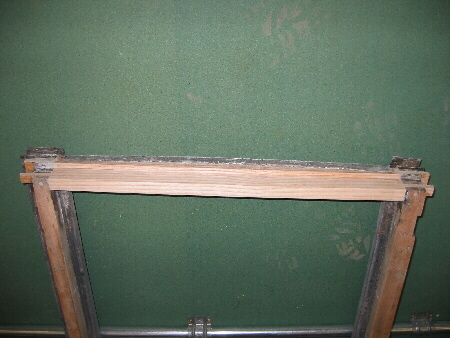
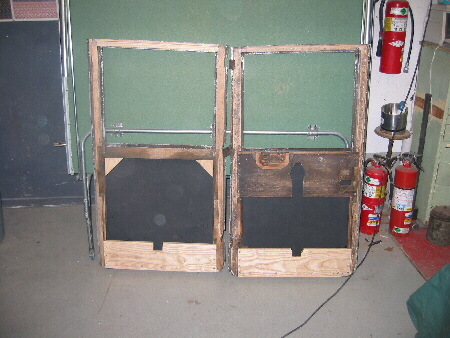
Here is a closer view of my final assembly.

As you can see I made my tenons longer than they were suppose to be. This makes it easy to figure out a final length on them after they are installed. I cut them with a hand hacksaw to the length and angle required to match the door after final assembly. Then just a quick hand sand and they will be the perfect length.

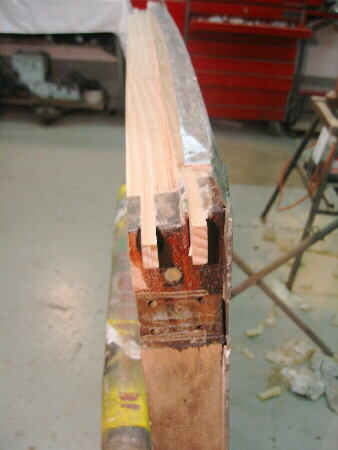
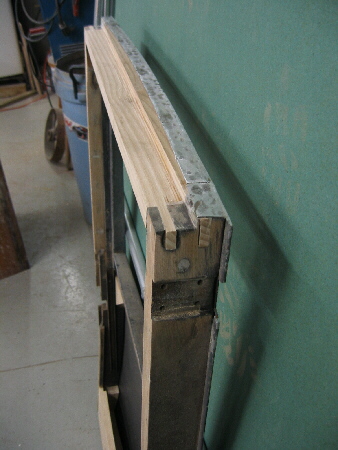
You can also see the dark brown satin color in the old vertical door pieces. This is from Kwik- Poly. During the final assembly I poured Kwik-Poly over all my joints to help make them even stronger.

Top piece looking might fine
ALL DONE

This process took me about 12 hours from start to finish. (Just the top piece)

wood all done Here's a view of my two door with all the new wood work installed. What you can't see in the picture is how strong the doors are now compared to before I started this process. They are tight and don't flex at all with the new wood.

All the wood used to repair these doors was done in ASH and was furniture grade lumber. I have $35 in total cost of the Ash in these doors......my labor was free!!!!

BACK Restoration Main Page